
Customizing the look & feel
Tailor the Picsart Photo and Video Editor SDK to your brand with detailed customization options for colors, fonts, and UI elements.
Branding Configuration
To achieve a consistent and unique look for your editor, the branding configuration provides various settings to customize the UI's visual aspects. These settings are encapsulated within the branding object. Below is an example of how the branding configuration is structured:
branding: {
  accents: '#EEC443',
  hover: '#EED792',
  main: '#1F3B5E',
  texts: '#FFFFFF',
  background: '#0A1E37',
  fonts: [/* see below for details*/]
}
Please note that the colors should be provided in HEX color code format. Do include the # symbol.
Accents
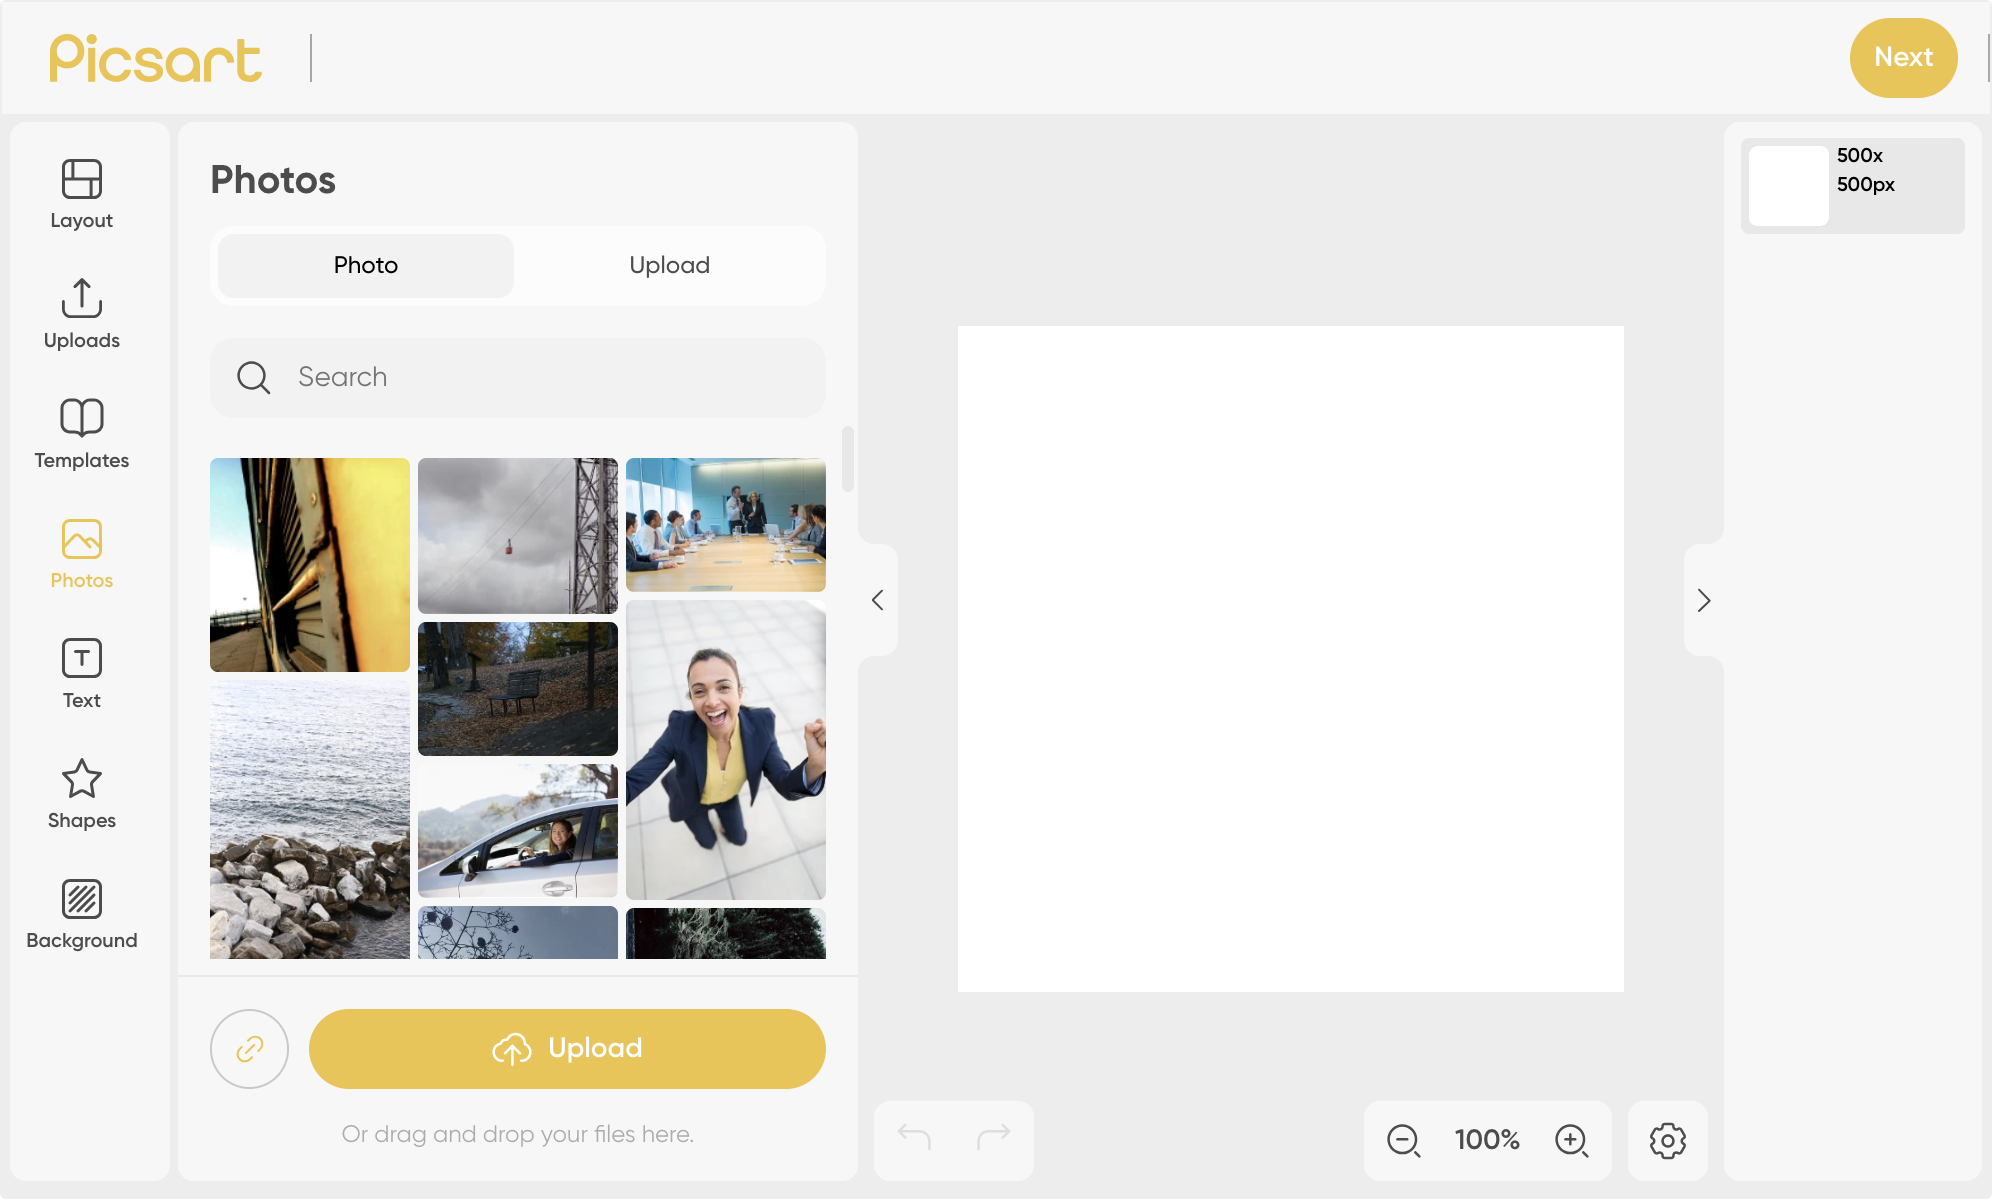
The accents setting controls the main color of buttons and call-to-action elements within the editor. This color is applied to key UI components to draw attention. As depicted in the screenshot below, the accents color is set to #EEC443.
Ensure that the text color contrasts well with the accents color for optimal readability.
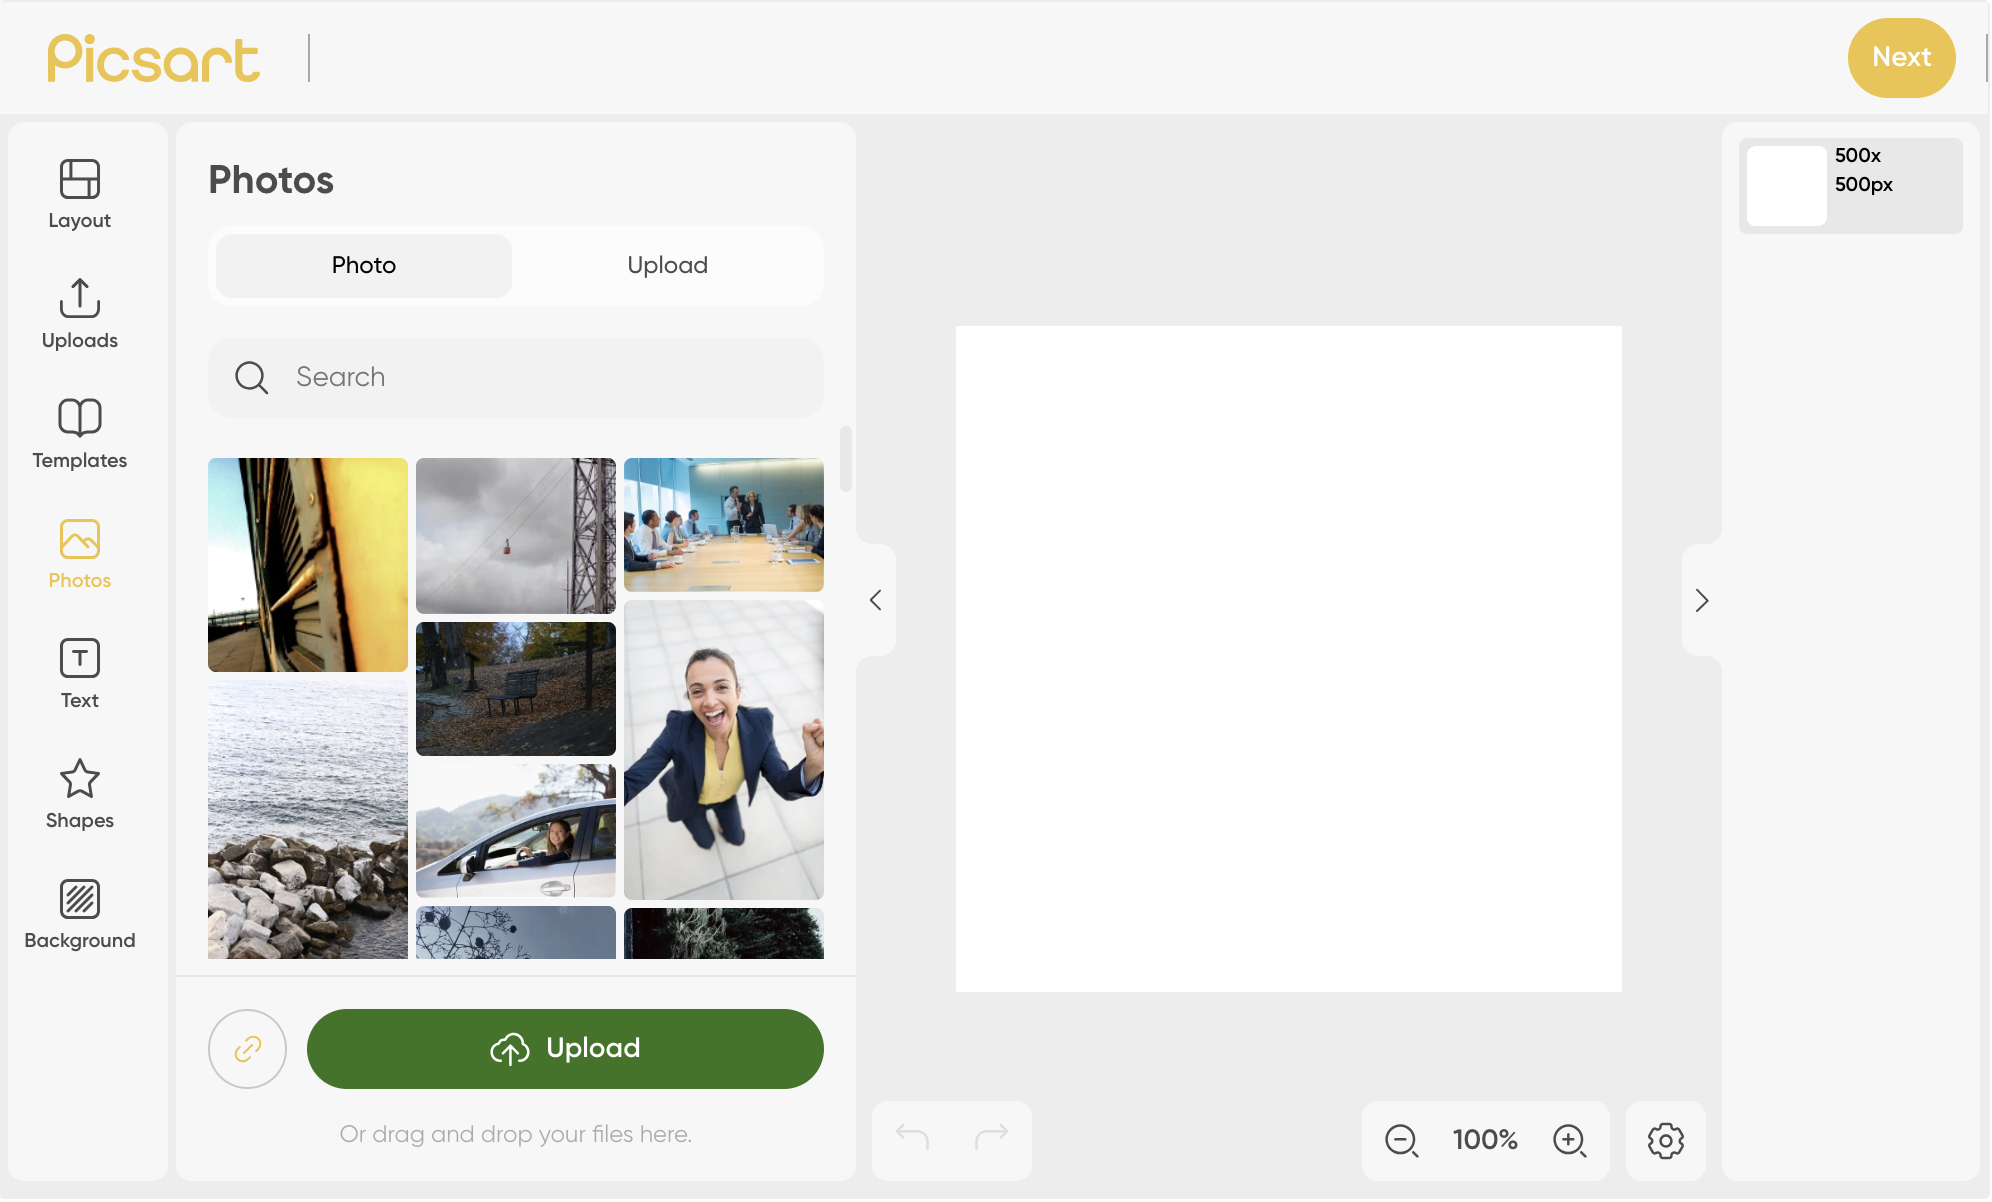
Hover
For enhanced user experience, the hover setting defines the color of buttons when users hover their cursor over them. In the provided example, the hover color is set to a green shade, #EED792.
Main
The main setting determines the color for general sections of the editor. This color contributes to the overall visual theme of the editor.

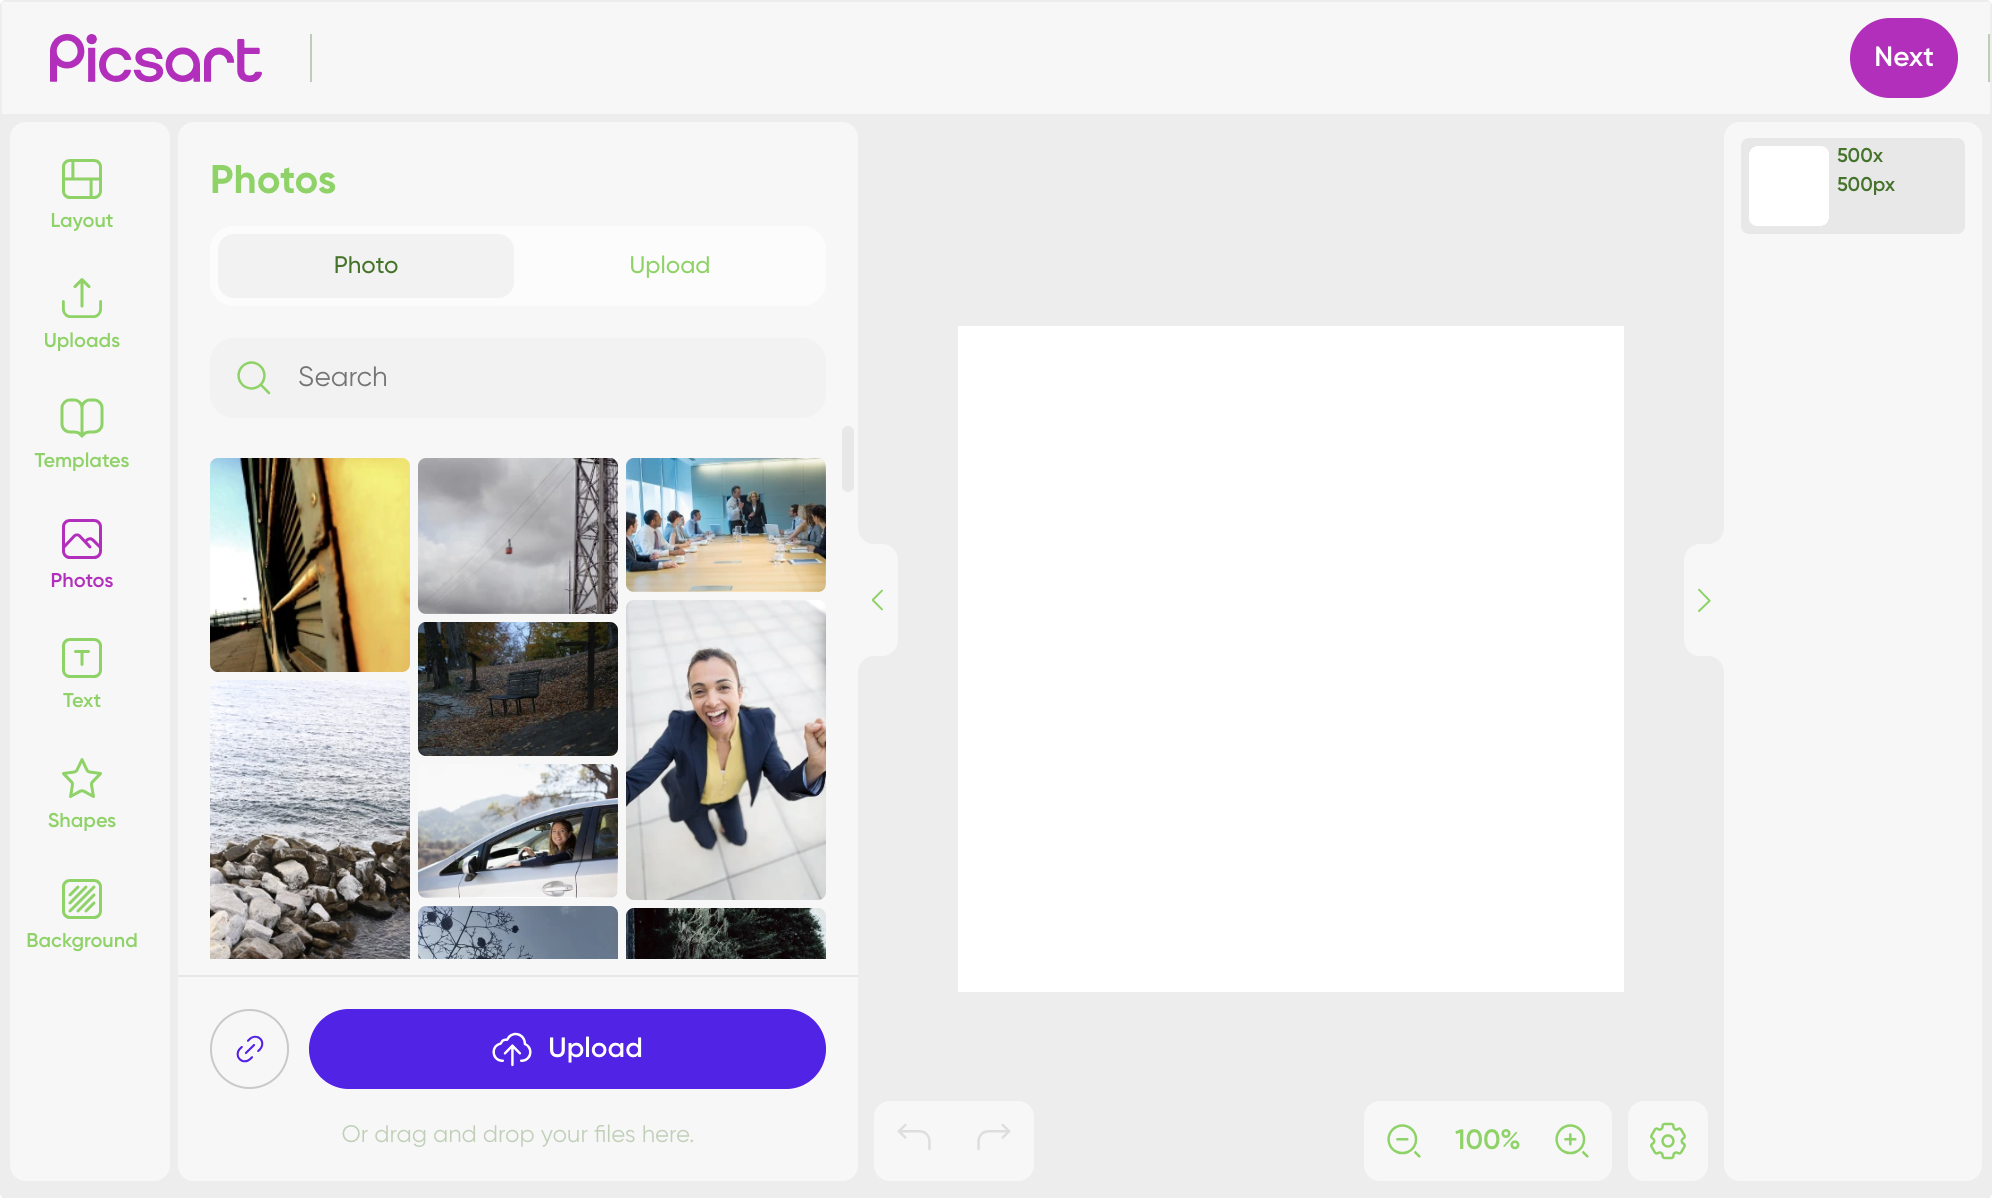
Texts
The texts parameter governs the color of text elements within the editor. In the sample configuration, the text color is set to green (#3be33e) to ensure readability against the chosen background and accent colors.
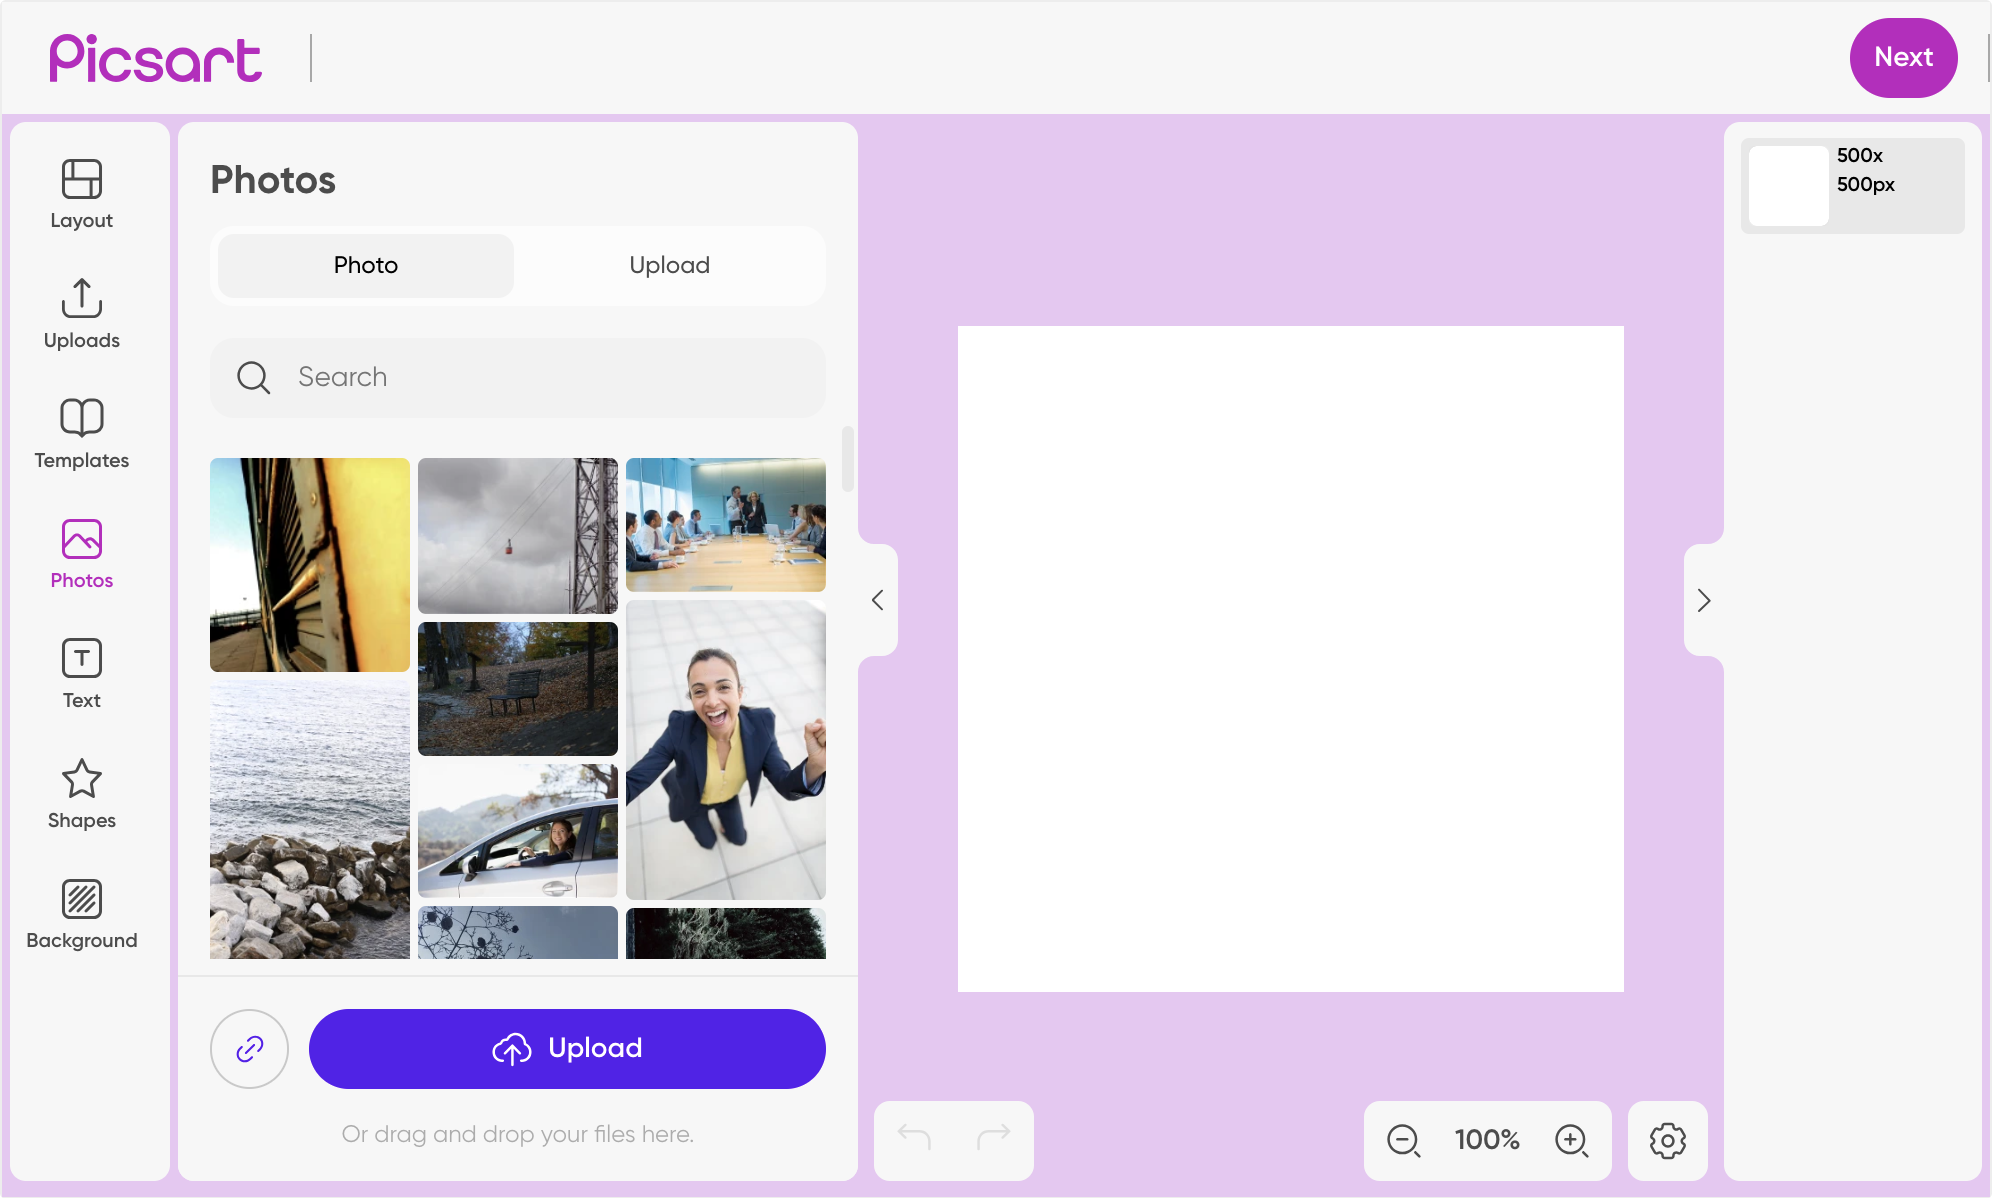
Backgrounds
In addition to the primary colors, the branding configuration also allows you to set the background color of the canvas or central area of the editor. In the screenshot below, the background color is specified as #0A1E37.
Fonts
To further align the editor with your brand's identity, you can customize the fonts used in the UI. To achieve this, create an array of font definitions, as demonstrated in the example below:
const customFonts = [
        {
          fontStyle: ‘normal’,
          fontWeight: 400,
          fontDisplay: ‘swap’,
          src: ‘url(“<https://fonts.gstatic.com/s/barriecito/v17/WWXXlj-CbBOSLY2QTuY_Gd0oYibNwMR2ng.woff2”>) format(“woff2")’,
          unicodeRange: ‘U+0102-0103, U+0110-0111, U+0128-0129, U+0168-0169, U+01A0-01A1, U+01AF-01B0, U+0300-0301, U+0303-0304, U+0308-0309, U+0323, U+0329, U+1EA0-1EF9, U+20AB’,
        }
Include this array in the fonts property of the branding object to apply your custom fonts to the editor UI.
Updated about 1 year ago