
Video Features
Explore the dynamic video editing capabilities of the Picsart Photo and Video Editor SDK, tailored for creating professional-quality video content.
Overview
Picsart Photo and Video Editor SDK for Video editing provides developers with powerful tools to create professional-grade video editing applications. With our editor, you can easily integrate video editing functionality into your own software, giving your users the ability to edit and enhance their videos without ever leaving your application. Our intuitive and customizable user interface allows your users to quickly and easily navigate and manipulate their video content. With our video editor you can ensure that your application stands out from the competition by providing your users with a video editing solution that integrates seamlessly into their workflow.
Below you can find the complete list of included features.
General Settings/Configurations
During the configuration and deployment process of our editor, developers can customize key settings to enhance the user experience. This includes the ability to choose between dark and light modes. Additionally, developers can configure the measurement units for templates, allowing users to work seamlessly with pixels, millimeters (mm), or centimeters (cm) based on their needs. These configurable settings provide a personalized and adaptable environment, ensuring a user-friendly experience tailored to the platform where the editor is being integrated to. The full list of settings can be found here.
Canvas
The canvas within our editor serves as a virtual workspace where users can effortlessly manipulate and enhance their videos, images and other objects. Acting as a blank area or digital representation of the content being edited, the canvas provides users with a visual and interactive editing environment. It allows users to perform a wide range of actions, including cropping, resizing, adding filters, applying effects, and making various adjustments to their content. With the canvas as the primary editing area, users can easily observe and preview real-time changes as they edit. Additionally, the canvas facilitates the arrangement and positioning of elements within the project enabling users to overlay multiple layers, merge or rearrange them, and create complex compositions.
The maximum size of the canvas is 8000x8000 pixels (64 megapixels).
Shortcuts
Users are able to perform main actions using keyboard shortcuts. With these shortcuts, users can quickly access and execute essential functions, enhancing efficiency and productivity. By eliminating the need for manual mouse navigation, users can seamlessly manipulate images with ease, all through simple keyboard commands.
| Action | Key |
|---|---|
| Play/Stop | Space |
Layers
In our editor, each object on the canvas, including video, is represented as a layer, conveniently displayed on the right side of the interface. The layer order directly corresponds to the stacking order of objects on the canvas. Users have the flexibility to rearrange layers by simply dragging and dropping them within the layers section. Additionally, the option to hide or lock layers provides further control over the visibility and editing of specific objects. This intuitive layer management system allows users to easily organize and manipulate elements on the canvas to achieve the desired composition. Multiple video layers will be available with the upcoming releases.
Source Video
We currently support editing only one video with MP4, WEBM, AVI, MOV, HEIC format. The maximum size of the video should be 1GB.
Output Video
The exported video duration can be up to 10 minutes in MP4 or WEBM formats. The output video is in H256 codec. The frame rate is fixed. The bitrate of the original video is retained. Retains the original video resolution up to 1080p.
Edit Video
- Resize: The size of the video on the canvas can be adjusted by drag and dropping either one of the corners or the sides of the video in or out, depending on whether you want to increase or decrease the size of the video.
- Change Position: The position of the video can be changed by dragging it and dropping anywhere on the canvas.
- Rotate: The video can be rotated at any angle by holding the rotate icon with mouse or keypad and rotating it.
- Align: The position of the video can be aligned with the canvas itself or other objects on the canvas. The options are: for top, middle, bottom, right, center, left.
- Trim: Video can be trimmed by setting the start and the end time manually or drag and drop the handles on the trimming timeline. The minimum trim length is 1 second.
- Volume: When in edit mode, the volume of the video can be adjusted. By default the volume is set to 100.
- Opacity: In edit mode the opacity of the video can be changed. By default the volume is set to 100.
Layout
There is an option to choose the layout of the video from the size presets that are optimized for platforms like YouTube, Instagram, Facebook and TikTok. Each layout corresponds to the ideal video size for that platform. The size of the video will be changed automatically based on the selected preset.
Supported aspect ratios:
- Square 1:1 (1080 x 1080 px)
- Portrait 9:16 (1080 x 1920 px)
- Wide 16:9 (1920 x 1080 px)
Supported size presets:
- Portrait (9:16)
- Landscape (16:9)
- Square (1:1)
- Facebook post (16:9)
- YouTube (16:9)
- TikTok (9:16)
- Facebook story (9:16)
- Facebook reel (9:16)
- YouTube shorts (9:16)
- Instagram story (9:16)
- Instagram square (1:1)
Audio (since 1.3)
- Upload audio: In the Upload section there is an option to upload multiple audio tracks and add to the video by selecting files from the device or providing the URL. We also support drag and dropping of the files from the device directly to the browser. The supported audio formats are: MP3 and WAV.
- Add audio to video: From the uploaded audio files only one can be added to the video. In this case in the bottom left corner of the page, an audio layer indicator will be displayed.
- Remove audio from video: To remove the audio file added to the video, select the audio layer and click on remove icon from the top menu bar.
- Edit audio: The audio that is added to the video can be edited by selecting it from the layers section and clicking on Edit from the top menu bar.
- Volume: The volume of the audio can be adjusted. By default the volume is set to 100.
- Trim: Audio can be trimmed by setting the start and the end time. The minimum trim length is 1 second.
- Start At: This field controls when the audio will be played.
- Loop: When on, the audio will be played in the loop. By default it is disabled.
- Delete Audio: The uploaded audio files can be deleted. In case the audio file that is added to video is being deleted from the Upload section, it will not be removed from the video automatically.
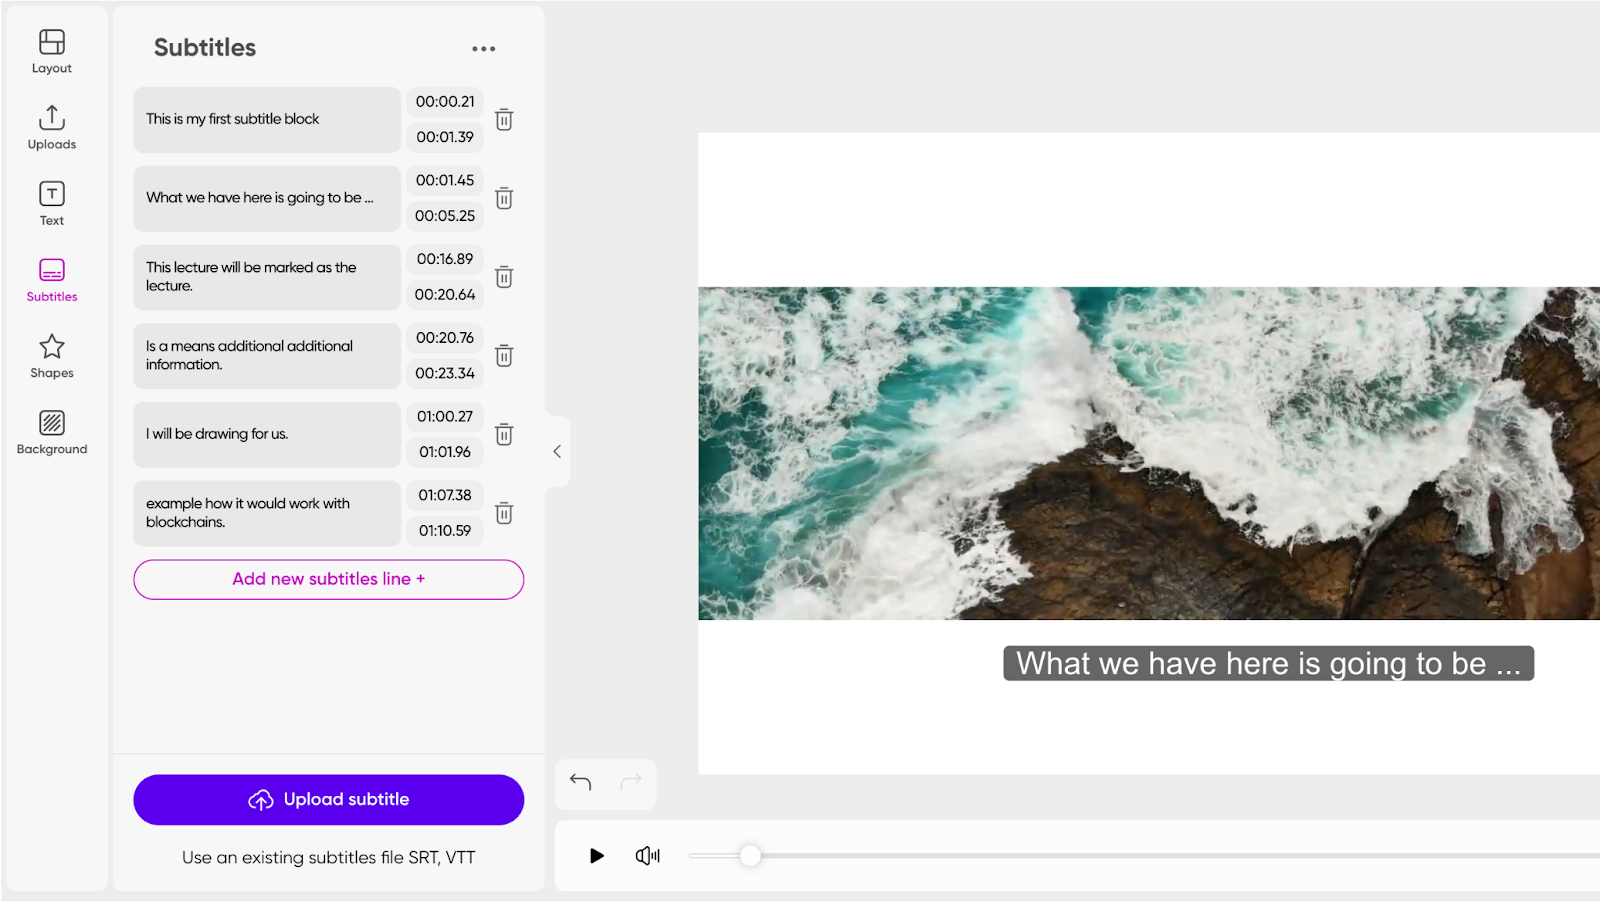
Subtitles
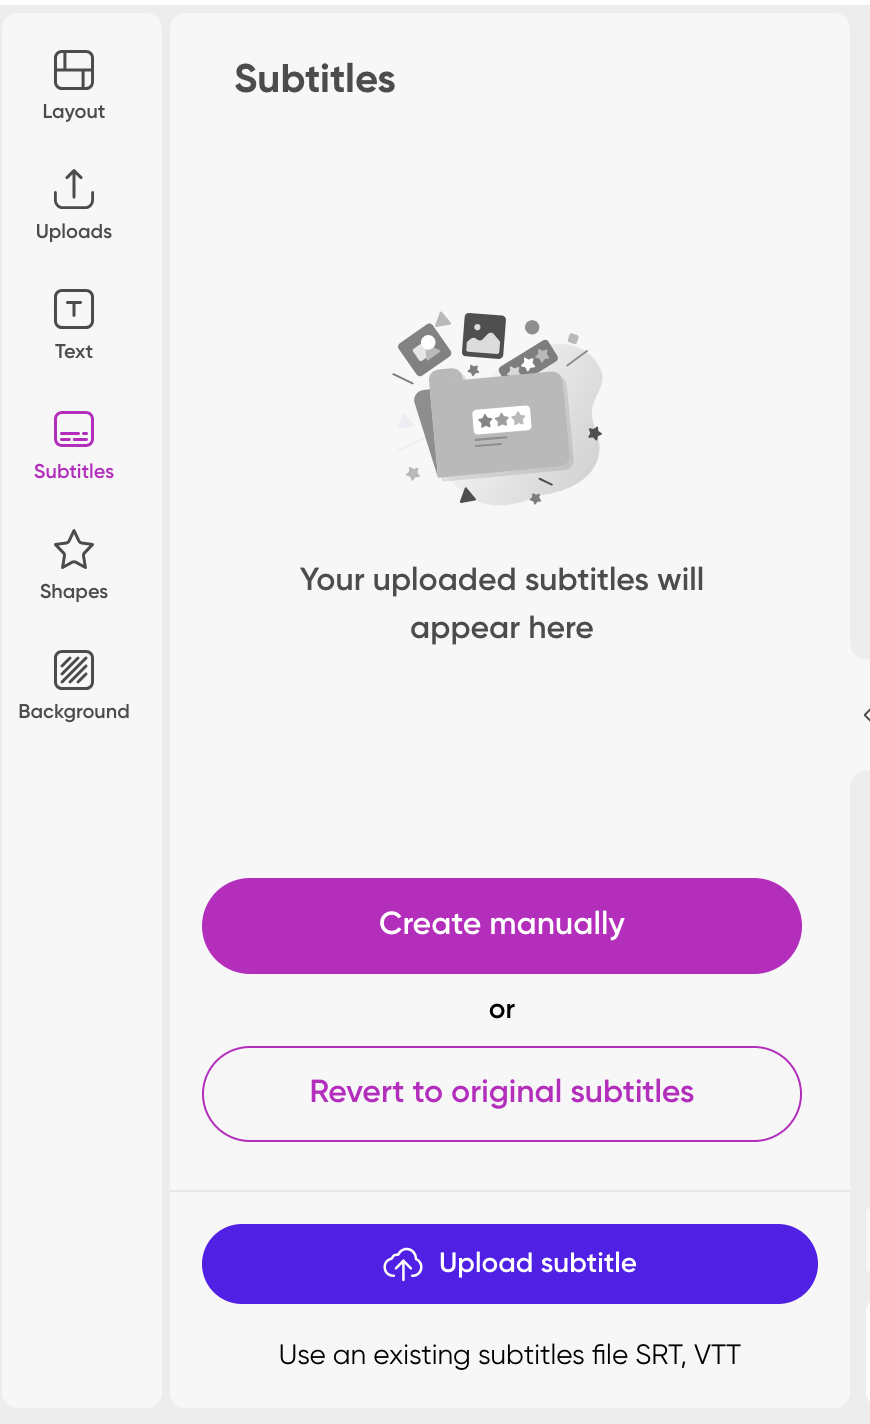
Picsart Photo and Video Editor SDK for Video editing facilitates a straightforward method to upload subtitle files directly into the editor. Through this option, users can upload .SRT or .VTT files independently from the video content. These files will be parsed and rendered onto the editor. This approach caters to users who may have received subtitle files separately or those seeking to integrate existing subtitles into their video project.
- Load subtitles with video: we provide a special parameter that will enable us to send the subtitle with the video, when opening the SDK editor. Please refer to the full list of parameters to get more details.
- Upload Subtitles: In the Subtitles section there is an option to upload .srt or .vtt files independently from the video content. These files will be parsed and rendered onto the editor. Users also have the option to provide the URL of the subtitles file and drag and drop from the device.
- Add subtitles manually: There is also an option to add subtitles manually by providing the text and the start and the end time of the subtitles. User needs to provide the text and timings for each block.
- Subtitle Layer: A special Subtitles layer indication is added on the bottom right corner of the page, when there are subtitles on the project.
- Delete Subtitles: There is an option to delete all the subtitles at once, or one by one.
- Download Subtitles: From the context menu on the main navigation panel on the right, there is an option to download the subtitles files separately by selecting the format: .SRT or .VTT.
- Revert to Original Subtitles: In case the subtitles were received by the editor with the video file, there is an option to revert back to that original subtitles, even after making changes.
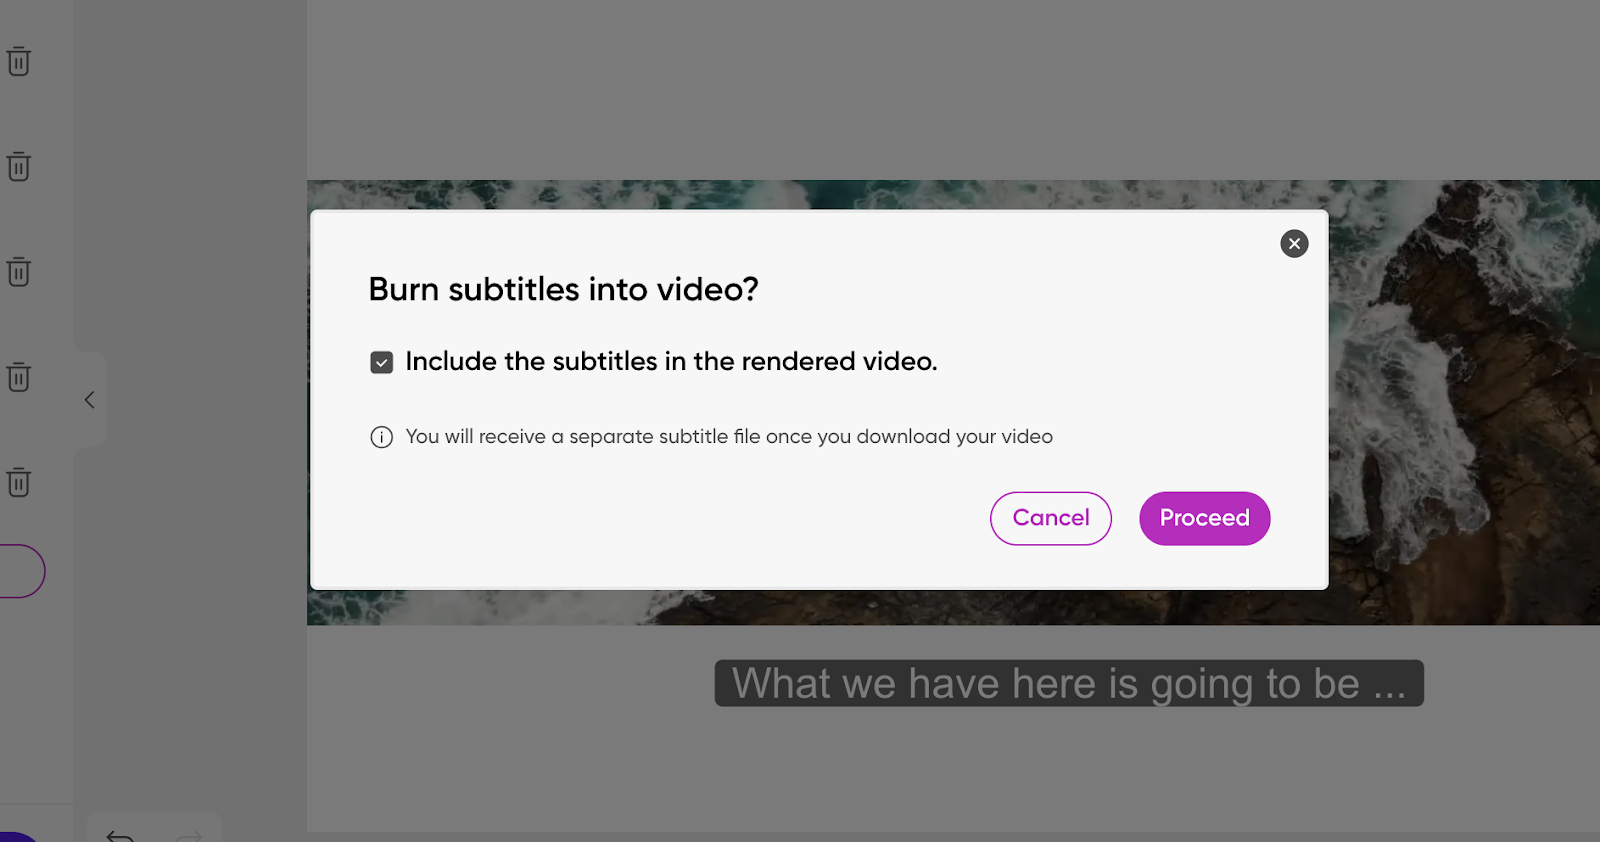
- Burn subtitles: There is an option to burn subtitles into video, which will become part of the video.
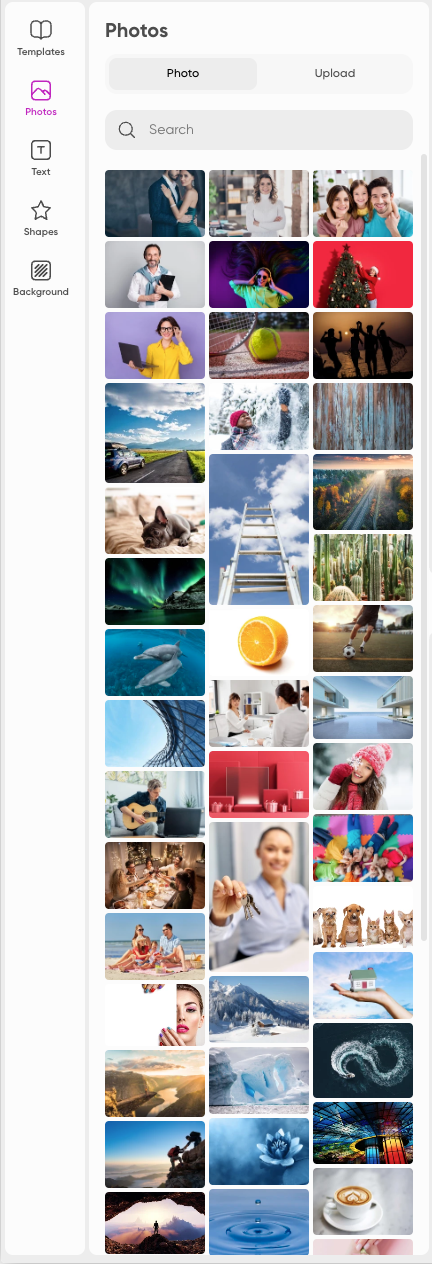
Photos
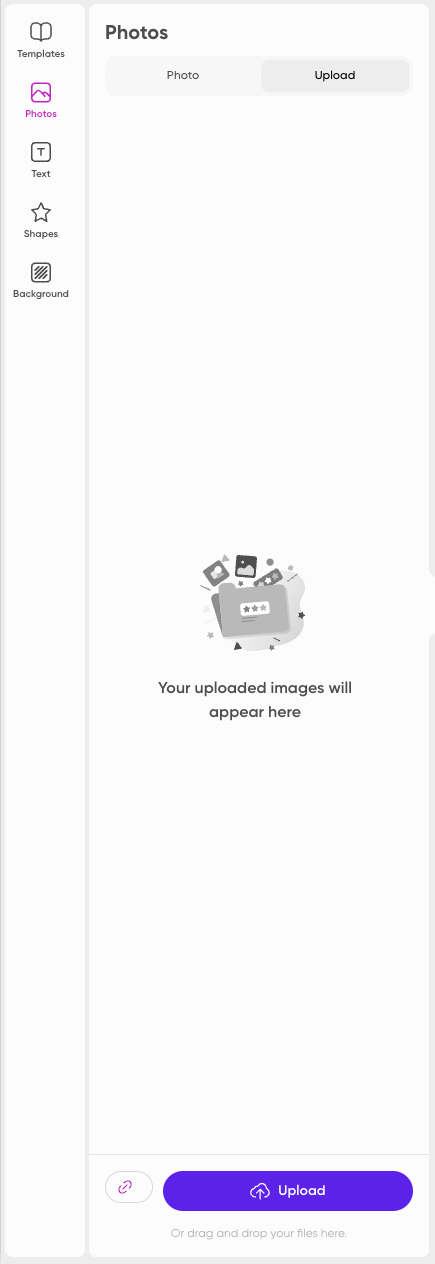
Experience the convenience and versatility of our stock images feature. With a comprehensive library of high-quality visuals, users can effortlessly enhance their projects by accessing a wide range of professionally curated images. Please consider contacting your account manager to set the number and categories of stock images to be purchased, as well as connecting external stock image vendors. Whether users prefer to upload their own images, browse our extensive stock image collection, or provide image URLs, our editor accommodates their preferences for seamless integration. Additionally, users can easily drag and drop image files from their devices directly into the browser, further streamlining the image importing process. Picsart Photo and Video Editor SDK supports image formats such as JPG, JPEG, PNG, WEBP and HEIC, ensuring compatibility and flexibility for users to work with their preferred file types.
Our editor provides a robust list of tools to edit and adjust images, based on the needs of the user. From adding effects and removing backgrounds to adjusting lighting and more, our comprehensive functionality empowers you to achieve the perfect edits.
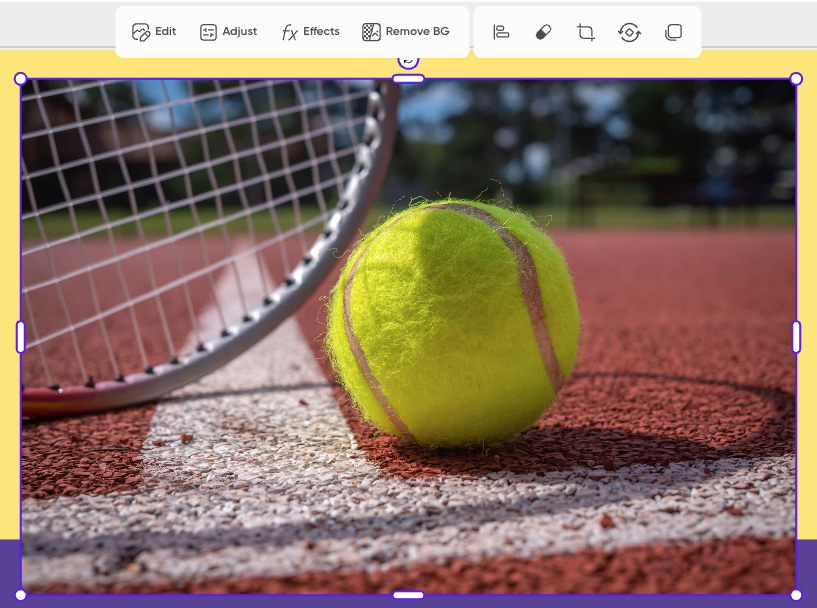
Our editor provides a range of powerful image editing capabilities:
- Change Position: Easily adjust the image position by dragging and dropping it anywhere on the canvas.
- Rotate: Effortlessly rotate the image to any desired angle by using the rotate icon and mouse or keypad controls.
- Resize: Seamlessly adjust the image size on the canvas by dragging the corners or sides, expanding or shrinking as needed.
- Flip: Flip the image horizontally or vertically for versatile editing options.
- Align: Precisely align the image with the canvas or other objects using options such as top, middle, bottom, right, center, and left.
- Crop: Crop the image to focus on specific areas or achieve the desired composition.
- Opacity: Modify the image's opacity, allowing you to control its transparency. The default opacity is set to 100.
- Blend Mode: By selecting different blend modes, users can seamlessly blend layers together, altering the appearance and composition of your image. Achieve transparency, color blending, and lightening/darkening effects to enhance your composition. Blend modes are normal, darken, multiply, color burn, lighten, screen, color dodge, overlay, soft light and hard light.
- Effects: We offer a wide range of filters and overlays to add depth, vibrancy, and mood to the images.
- Remove Background: This feature removes the background of an image with a click of a button. Utilizing high-end AI technology, our background remover detects the foreground object and automatically separates it from the background. Our algorithm is capable of handling the most diverse use cases, like small jewelry details, human hair, furry segments or any other complex edge types.
- Animations: The animation feature allows users to bring their images to life by creating captivating motion effects. With a range of tools and presets, users can easily enhance the visual impact of their photos and creating engaging visual stories. Currently we support the following types of animations:
- Fade in/out
- Zoom in/out
- Spin
- Fly in from left/right/top/bottom
- Fly out to left/right/top/bottom
- Erase: Utilize the eraser tool to selectively erase parts of the image. Adjust the eraser size, opacity, and hardness for precise editing.
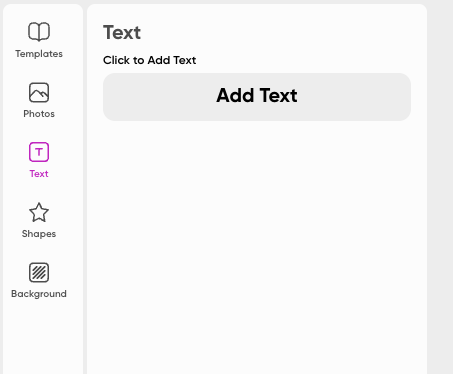
Text
Our editor supports adding texts into the project and enables basic editing of texts.

- Change Position: The position of the text can be changed by dragging it and dropping anywhere on the canvas.
- Rotate: The text can be rotated at any angle by holding the rotate icon with mouse or keypad and rotating it.
- Align: The position of the text box can be aligned with the canvas itself or other objects on the canvas. The options are: for top, middle, bottom, right, center, left.
- Font: Font of the text can be changed to one of the fonts that we have in the system. We provide dozens of fonts with different styling. The default font packages include (ask your Account manager for more options):
- Abril Fatface
- Architects Daughter
- Arvo
- Caveat Brush
- Dancing Script
- Fira Sans
- Great Vibes
- Indie Flower
- Lato
- Merriweather
- Oswald
- Oxygen
- Playfair Display
- Playfair Display SC
- Poppins
- Quicksand
- Righteous
- Roboto Flex
- Roboto Mono
- Roboto Slab
- Rubik
- Satisfy
- Vollkorn
- Size: Size of the text can be changed either by setting a font size, or drag and dropping one of the corners of the text box in or out, depending on whether you want to increase or decrease the size of the font.
- Color: Color of the text can be changed using multiple options from providing HEX, RGB, select form the color preset or choose from the color board.
- Caps: Make the text all lowercase, upper case or title case.
- Text alignment: The alignment of the text in the text box can be left, right, center or justified.
- Spacing: The spacing between letters and the lines can be adjusted. By default it is set to 0.
- Opacity: The opacity of the text can be changed. By default the volume is set to 100.
- Stroke: A stroke can be added to the text. There are also options to change the color, size and opacity of the stroke. By default stroke is disabled.
- Shadow: A shadow can be added to the text. There are also options to change the color, blurriness, opacity and the positions of the shadows.
- Animations: The text animation feature empowers users to transform static text into dynamic and eye-catching elements. Currently we support the following types of animations:
- Fade in/out
- Zoom in/out
- Spin
- Fly in from left/right/top/bottom
- Fly out to left/right/top/bottom
- Typewriting
- Word by word
- Line by line
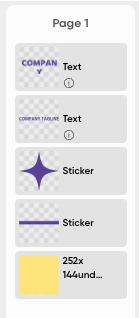
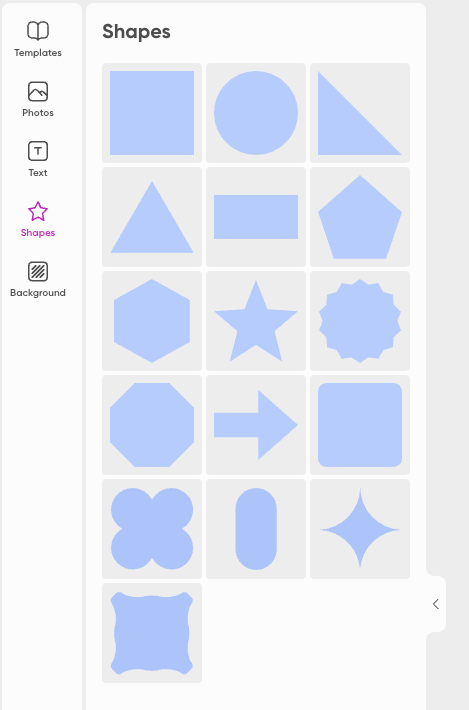
Shapes
Picsart Photo and Video Editor SDK has a library of 16 shapes/elements (e.g. circle, triangle, square, hexagon, etc.) that can be added into the project. To get more options, please, contact your Account Manager.
- Change Position: The position of the shape can be changed by dragging it and dropping anywhere on the canvas.
- Rotate: The shape can be rotated at any angle by holding the rotate icon with mouse or keypad and rotating it.
- Flip: The shape can be flipped horizontally or vertically.
- Resize: The size of the shape on the canvas can be adjusted by drag and dropping either one of the corners or the sides of the shape.
- Color: Color of the shape can be changed using multiple options from providing HEX, RGB, select form the color preset or choose from the color board.
- Align: The position of the shape can be aligned with the canvas itself or other objects on the canvas. The options are: for top, middle, bottom, right, center, left.
- Opacity: The opacity of the image can be changed. By default the volume is set to 100.
- Stroke: A stroke can be added to the shape. There are also options to change the color, size, and opacity of the stroke. By default stroke is disabled.
- Shadow: A shadow can be added to the shape. There are also options to change the color, blurriness, opacity and the positions of the shadows.
- Animations: The text animation feature empowers users to transform static shapes into dynamic and eye-catching elements. Currently we support the following types of animations:
- Fade in/out
- Zoom in/out
- Spin
- Fly in from left/right/top/bottom
- Fly out to left/right/top/bottom
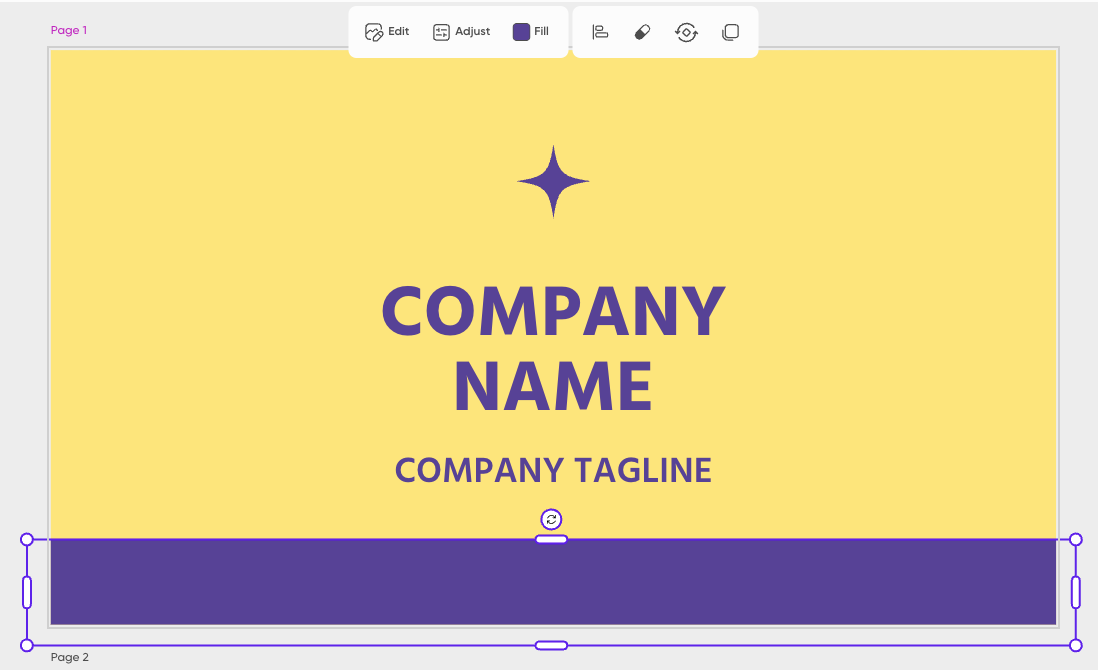
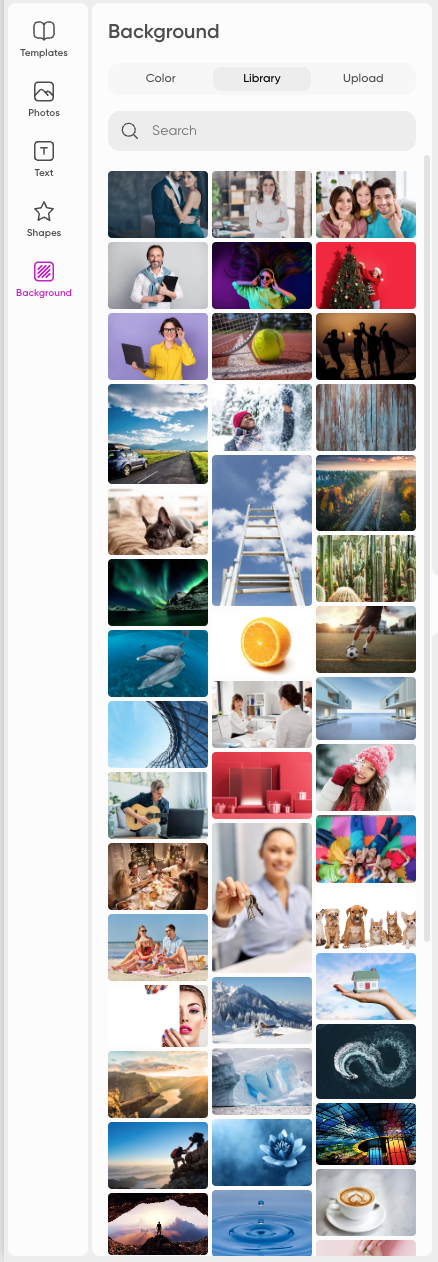
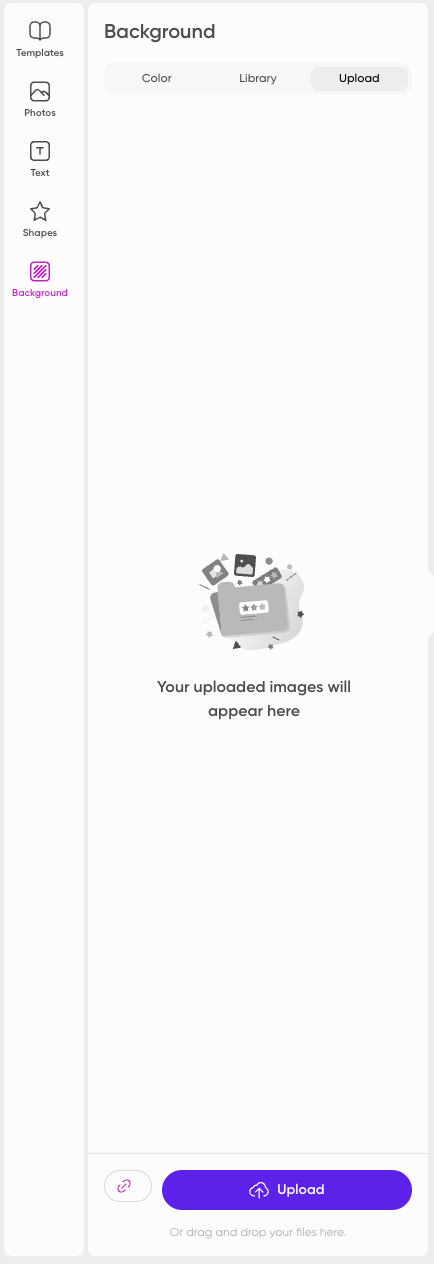
Background
Picsart Photo and Video Editor SDKr enables the users to customize the canvas by selecting a background of any choice to enhance the overall composition. With a simple click, users can set a background color, gradient, or even upload their own image to create a personalized touch. Setting up video as a background will be available with the upcoming versions.
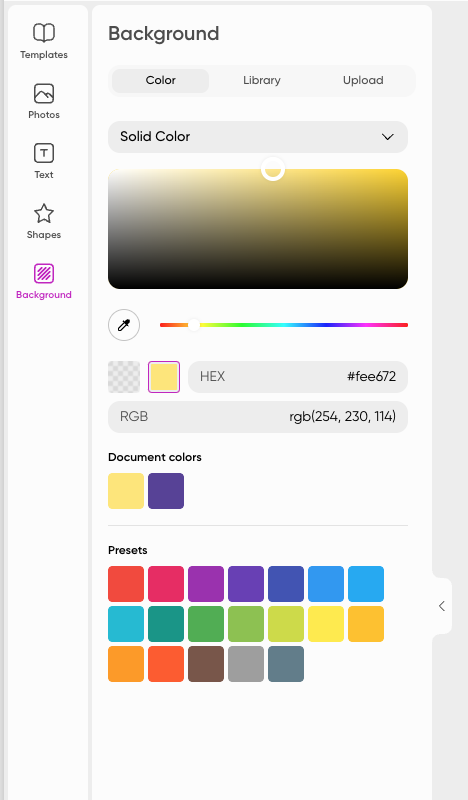
- Solid Color: Background color can be changed using multiple options from providing HEX, RGB, selecting from the color preset or choosing from the color board.
- Gradient: Background color can be set as a 2 coloured gradient. The selection of the colors is the same as in the case of solid colors.
- Image: An image can be set as the background for the canvas. It can be specifically uploaded as a background, or any image on the canvas can be set as a background with the write click menu. It is also possible to select from the library of our stock images and set them as a background.
- Video: Coming Soon...
Updated about 1 year ago